安裝環境
1. Ubuntu 16.04 x64
2. nasm 2.11.08
3. Bochs 2.6.9
一、安裝bochs
安裝bochs需要的配件
1. apt-get install build-essential xorg-dev libgtk2.0-dev bochs-x
解壓縮bochs
2. tar xzfv bochs-2.6.9.tar.gz
進入解壓縮後的資料夾
3. cd bochs-2.6.9
讓bochs俱備Debugger功能
4. ./configure --enable-debugger --enable-disasm
安裝bochs
5. make && make install
二、設置bochs的配置檔bochsrc
設置記憶體為32MB
megs: 32
設置ROM images
romimage: file=/home/bochs/bochs-2.6.9/bios/BIOS-bochs-latest
vgaromimage: file=/home/bochs/bochs-2.6.9/bios/VGABIOS-lgpl-latest
這是啟動磁盤的設置,bootload將會給BIOS載入
floppya: 1_44="bootload", status=inserted
啟動方式為磁盤
boot: floppy
輸出log的檔案
log: bochsout.txt
關閉mouse功能
mouse: enabled=0
三、撰寫bootload
org 0x07c00
; 清除螢幕上的字串
mov al, 0x02
mov ah, 0x00
int 0x10
; 寫入字串到螢幕上
mov ax, msg
mov bp, ax
mov cx, 12
mov ax, 0x01301
mov bx, 0x000c
mov dl, 0
int 0x10
hlt
msg: db "Write own OS"
times 510-($-$$) db 0
dw 0xaa55
寫完程式碼後再編譯它
nasm bootload.asm –o bootload
四、運行結果
./bochs -f bochsrc
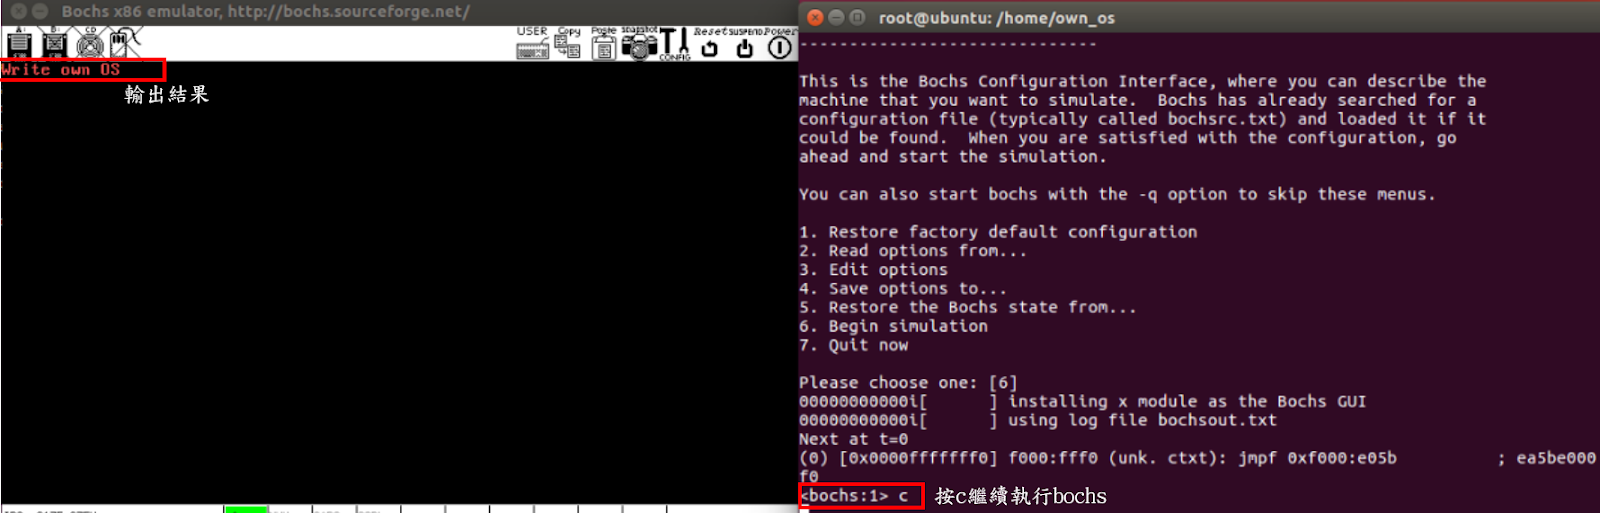
我們在配置時有設定Debug模式,因此要按c,bochs模擬器才會繼續運行我們的bootload程式,這裡要注意一下,bochs的輸出是需要有介面支援的環境,不然會跳出Message: Cannot connect to X display錯誤。